
By now, I am sure you realize that the key to evaluate a Blue and White of the early Ming era is the recognition of the Sumali Blue dye. Not that the shape of the ware, the way the ware is potted, the way the motif is drawn are not important—they are very important. They are the cornerstone in the conventional evaluation process. The only problem here is that, with modern technology, and the rapidly expanding information industry, forgers have the knowledge and means to imitate everything they want to imitate. Collectors have a hard time in telling the real thing from the forged.
The only area where forgers cannot imitate is the dye—the Sumali Blue dye. The reason is that we have no idea of the composition of the dye, not even for the well informed forgers. It is the characteristics of the dye that forgers cannot copy. That is why we need to know such characteristics and how they present themselves. The troubling issue here is that the presentations of the dye varies so much that it is almost impossible to categorize and classify them. We can certainly do that up to a point. But beyond that, the only way to recognize the dye and its characteristics is by looking at as many wares as we can lay our hands on, and to expand our knowledge and experience on this aspect. That is why I am showing all these photos of special features of the dye here in this blog. I hope that more collectors will do the same, so that those who are interested in evaluating ceramics of the early Ming period will have something to help them to start.
In the last two articles, I have shown you the plaques in the two Yuan wares. Yuan Blue and Whites have a lot of large plaques. That is no longer true in Yongle B & Ws. In Xuande period, some of the B & Ws have rather small plaques, as in this Xuande stem bowl that I am going to show you. Look at the plaques in these wares, and you will understand how different they are, and the extend of the variation in presentation.
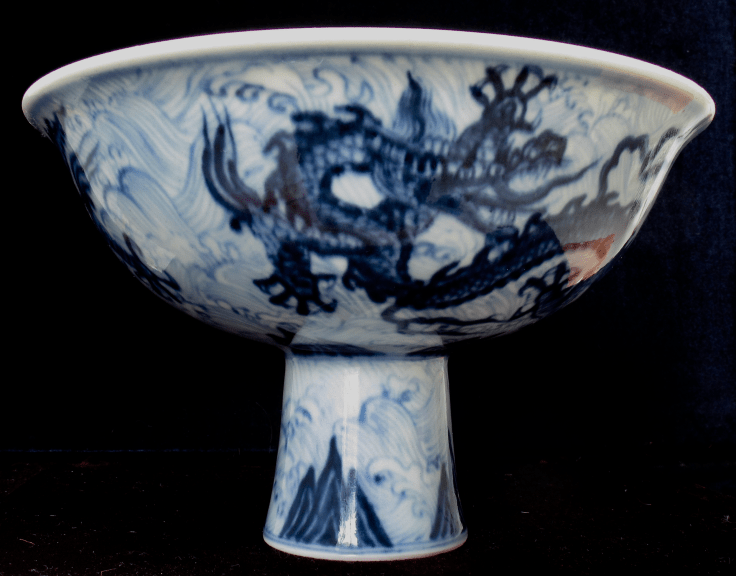 Figure 1
This stem-bowl is 4 inches tall, and its diameter is 6 3/16 inches. Now let me show you the plaques of this bowl (Figures 2-12).
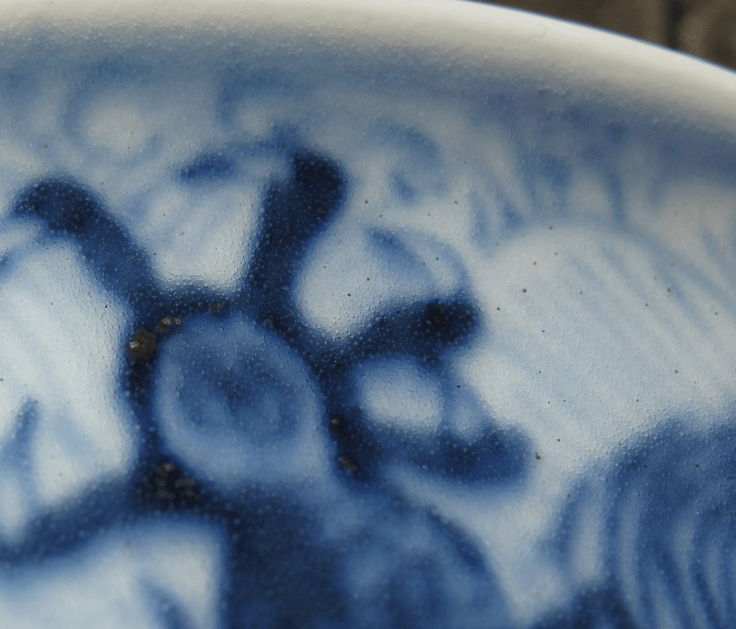 Figure 2
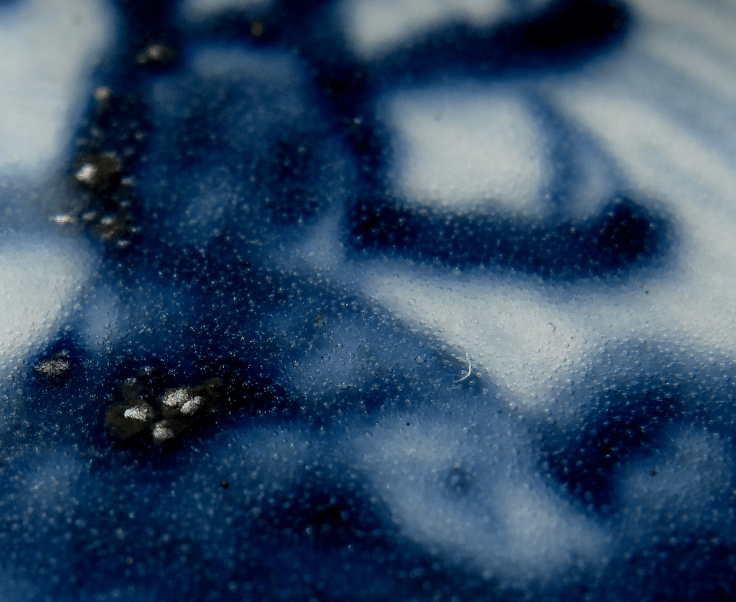 Figure 3
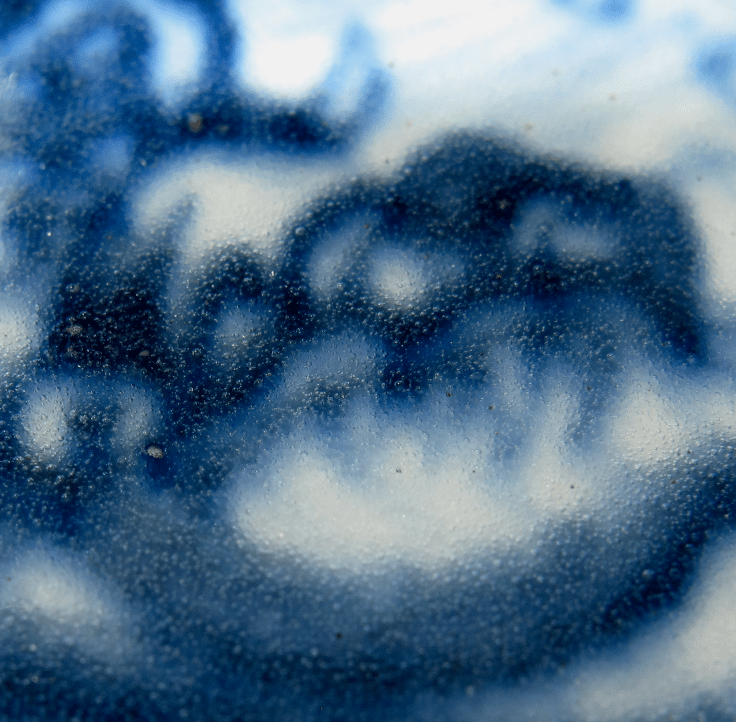 Figure 4
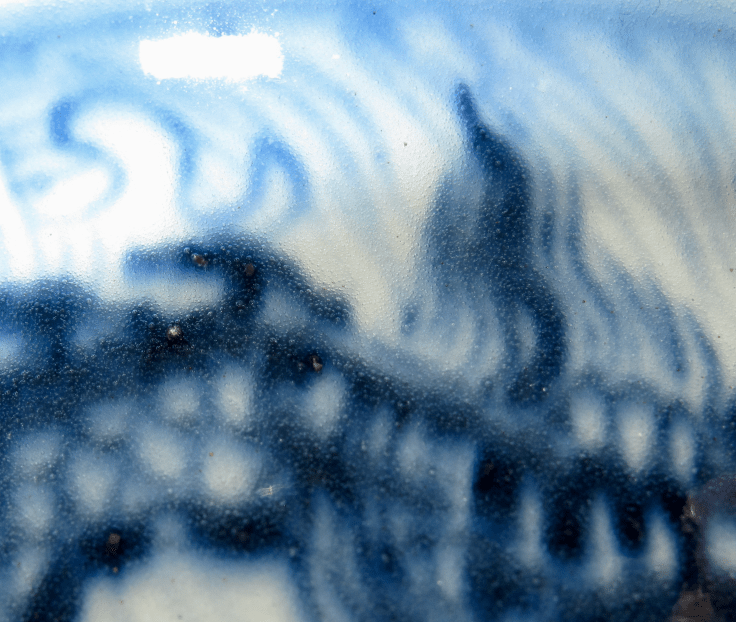 Figure 5

Figure 6
 Figure 7
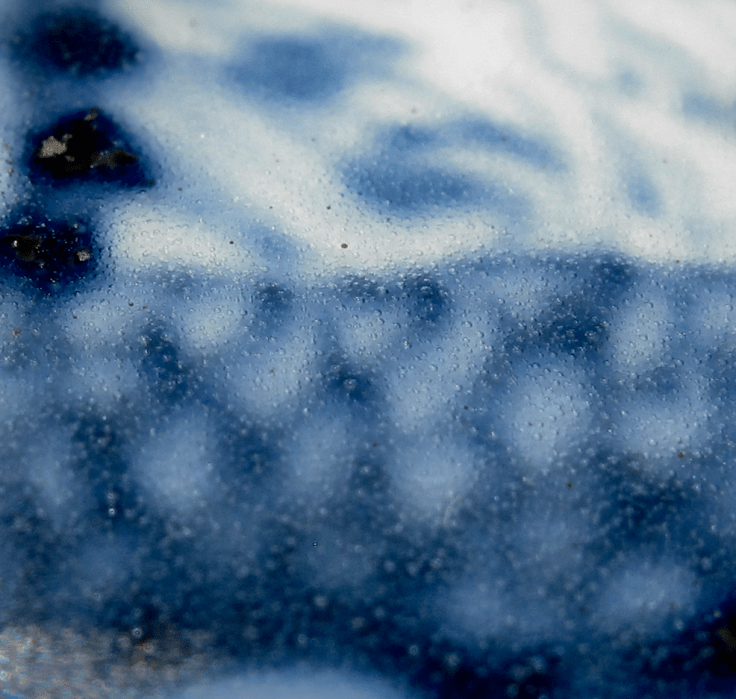 Figure 8
 Figure 9
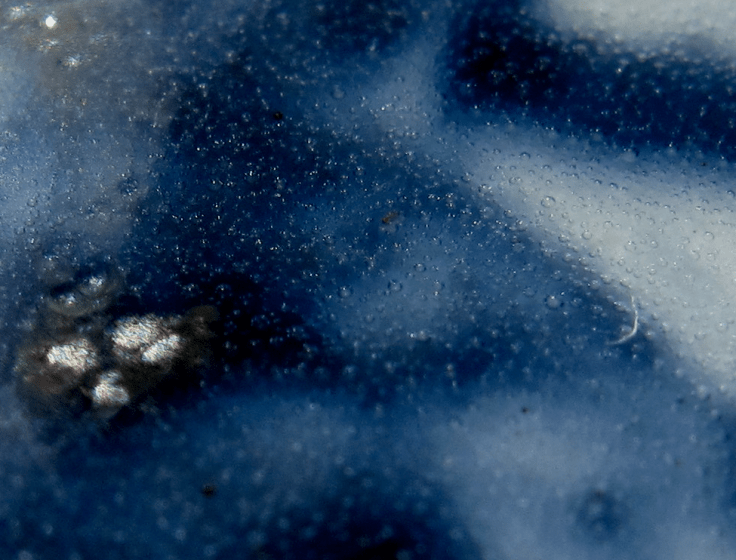 Figure 10
 Figure 11
 Figure 12
Note the size of the plaques here. Compare to the size of the bubbles, and you know that they are small. Note also that these are plaques without a floating metallic layer on top, that is to say, they are not mature plaques. They only have the muddy layer. Please also note that many plaques are not reflective of the colorful sunlight. And in plaques where there is a reflective element, it is only a small portion of the plaque that is reflective. The rest is non-reflective. We have seen that in some wares the muddy layers have very colorful reflections, and we can only surmise that the muddy layer is a very complicated structure. Some of the structure contains rich components that is highly reflective to sunlight, whereas in other structures, the constituents are simply not reflective to sunlight.
There is one further point that I want to make here. In a ware such as this with small plaques only, and there is no reflective elements in any of the plaques, I would have the tendency to be very wary. I would think thrice before I can say if the ware is real and genuine.
In all these photos, try to look for the flare and dripping effect. Every photo has this. This stem-bowl has almost no horizontal surface, so that the effect is mostly caused by gravity and dripping. I’ll show you a few more photos where the dripping is more intense, as in so many other B & Ws of that era (Figures 13-16).
 Figure 13
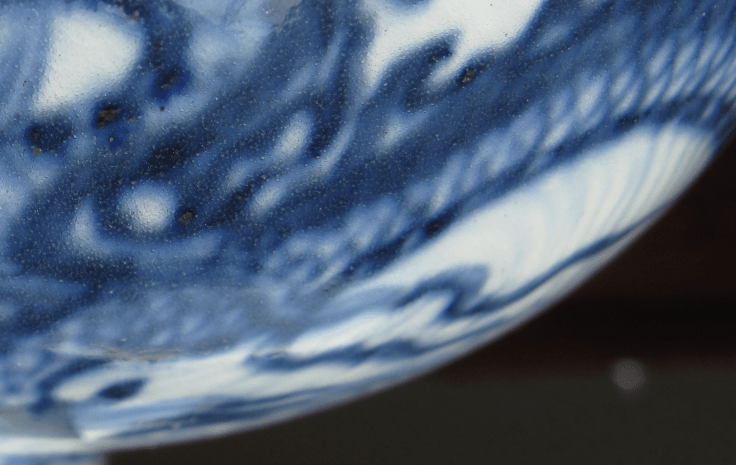 Figure 14
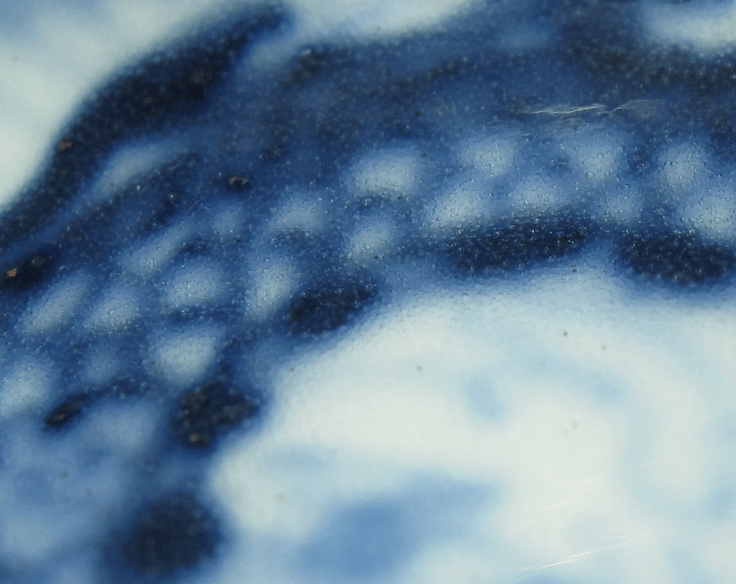 Figure 15
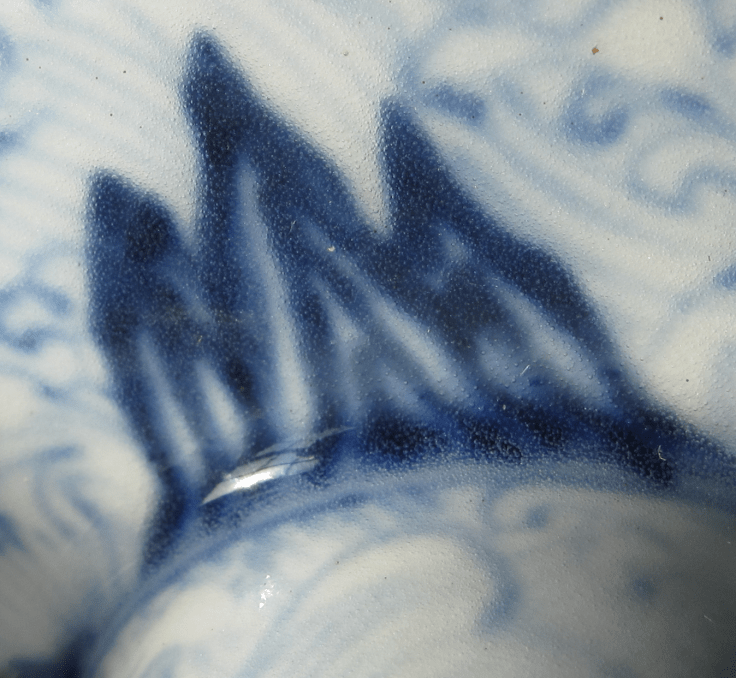 Figure 16
In figure 13 and figure 14, you can see the intense small blackish spots dripping down from the main deep blue mass. Whereas in figure 16, the dripping is most obvious at where the bowl joins the stem. There, at the point where they join, you can see the bubbles are particularly abundant. This is almost a constant feature in any ware. If you enlarge the photo a bit, here you can see some lacunae very clearly. In this stem-bowl, the small bubbles are not very small, and they are not closely packed together, that is why, lacunae formation in most areas are not vey obvious, though, if you look more carefully, you certainly see them in many of the photos.
This brings us to another important feature of the Sumali Blue dye, the bubbles. Here in this stem-bowl, the bubbles conform to the very basic pattern of the Sumali Blue dye. The bubbles are basically very well arranged. There is no area where the bubbles appear to be in disarray. You do not feel any disorder, confusion or chaotic arrangement of the bubbles anywhere. The large and small bubbles are well proportioned, and the large bubbles are typical of large bubbles of the Sumali Blue dye. Look at them carefully, and you will agree with me. And I’ll show you more photo just to illustrate this point (Figures 17-23).
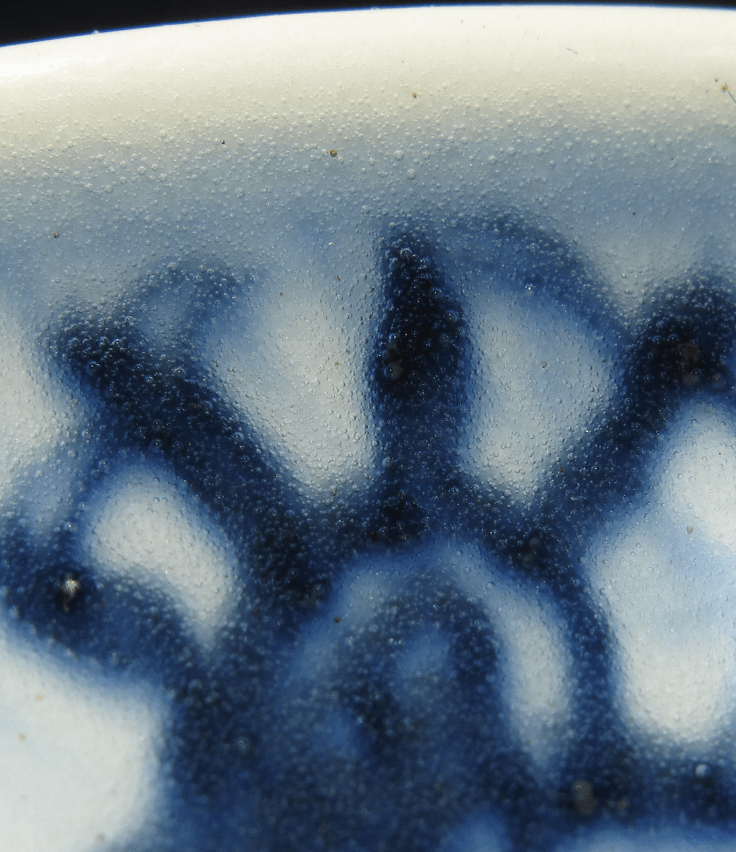 Figure 17
 Figure 18
 Figure 19
 Figure 20
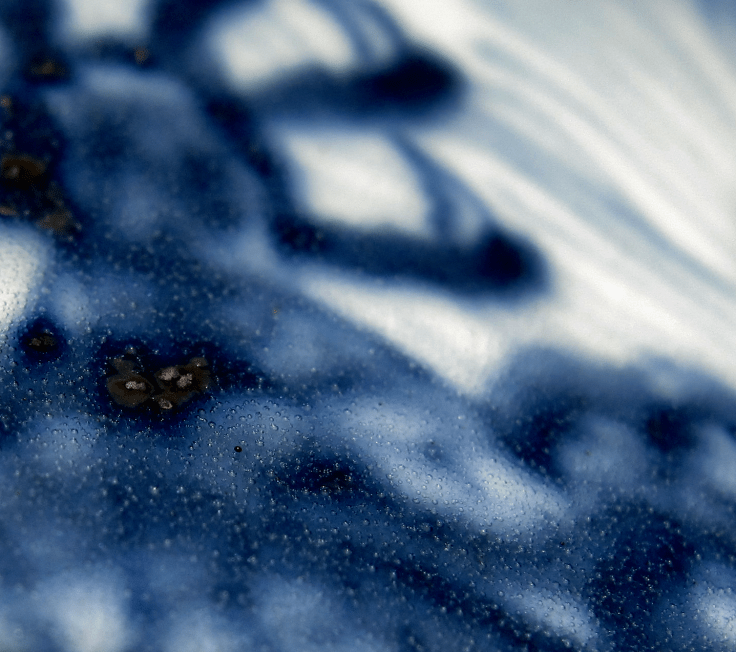 Figure 20
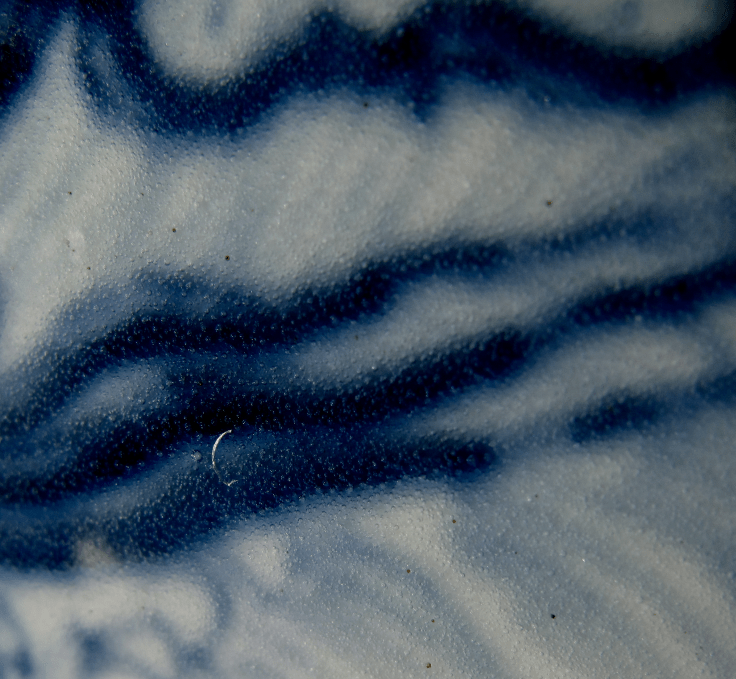 Figure 21
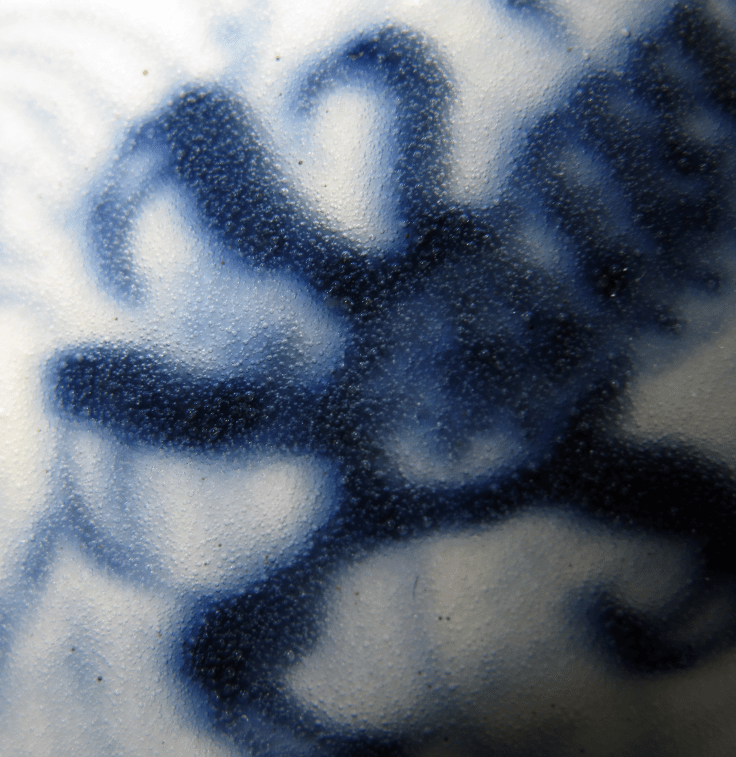 Figure 22
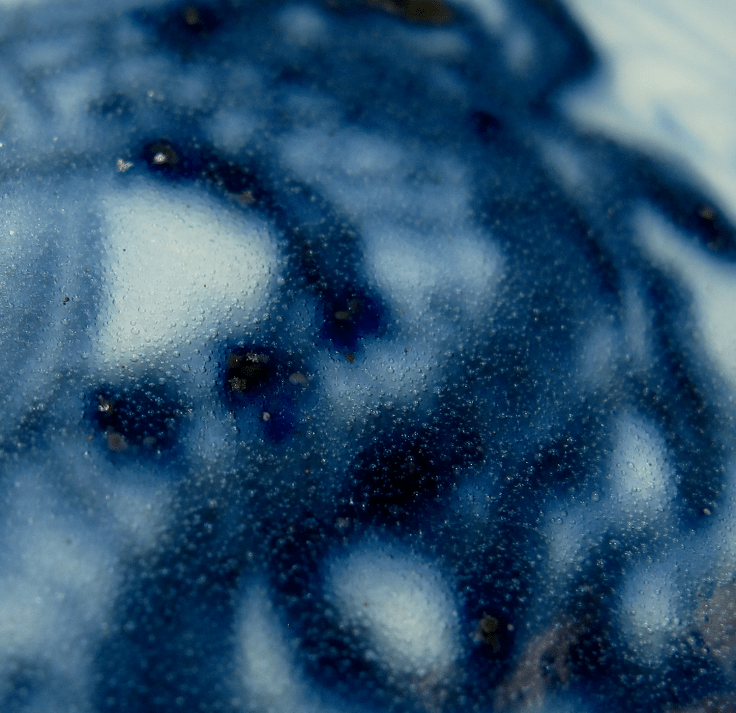 Figure 23
Before we leave here, let me show you the mark (Figure 24).
 Figure 24

Leave a comment