
It is not my intention to go into the history of pottery and ceramics. But all collectors know that in the T’ang Dynasty, potters have an intense interest in making terra-cotta and sancai horses, camels, and figures of human and spirit. In the making of these figures and animals, there is little doubt that it involves a lot of sculpturing. Not only that, the sculpturing has to be done well, at least well enough to make the end product look very much alive. And potters in the T’ang era have not failed us in this. I would say, potters of all ages in China, and in the rest of the world, have not been able to match the skill of the T’ang potters in this aspect. They are by far the best. And it is also interesting to note that, after the T’ang era, for example potters in the Ming dynasty, have very little interest in pursuing what the T’ang potters have been doing with very keen interest. We do not know the reason for this. Imagine, if we have a B & W dancing figure, or for that matter, a spirit standing on guard, would that look beautiful? It is unfortunate that potters in the following eras have not followed the tradition.
With this very simplified backdrop, I am going to show you a candlestick holder the central theme of which is a crouching lion (Figures 1 & 2). It stands at 13 1/2 inches tall. So, we do see potters sculpturing an animal in the Ming era, though this has to be extremely rare. And in all fairness, the skill and the sculpturing here are perfectly fine.
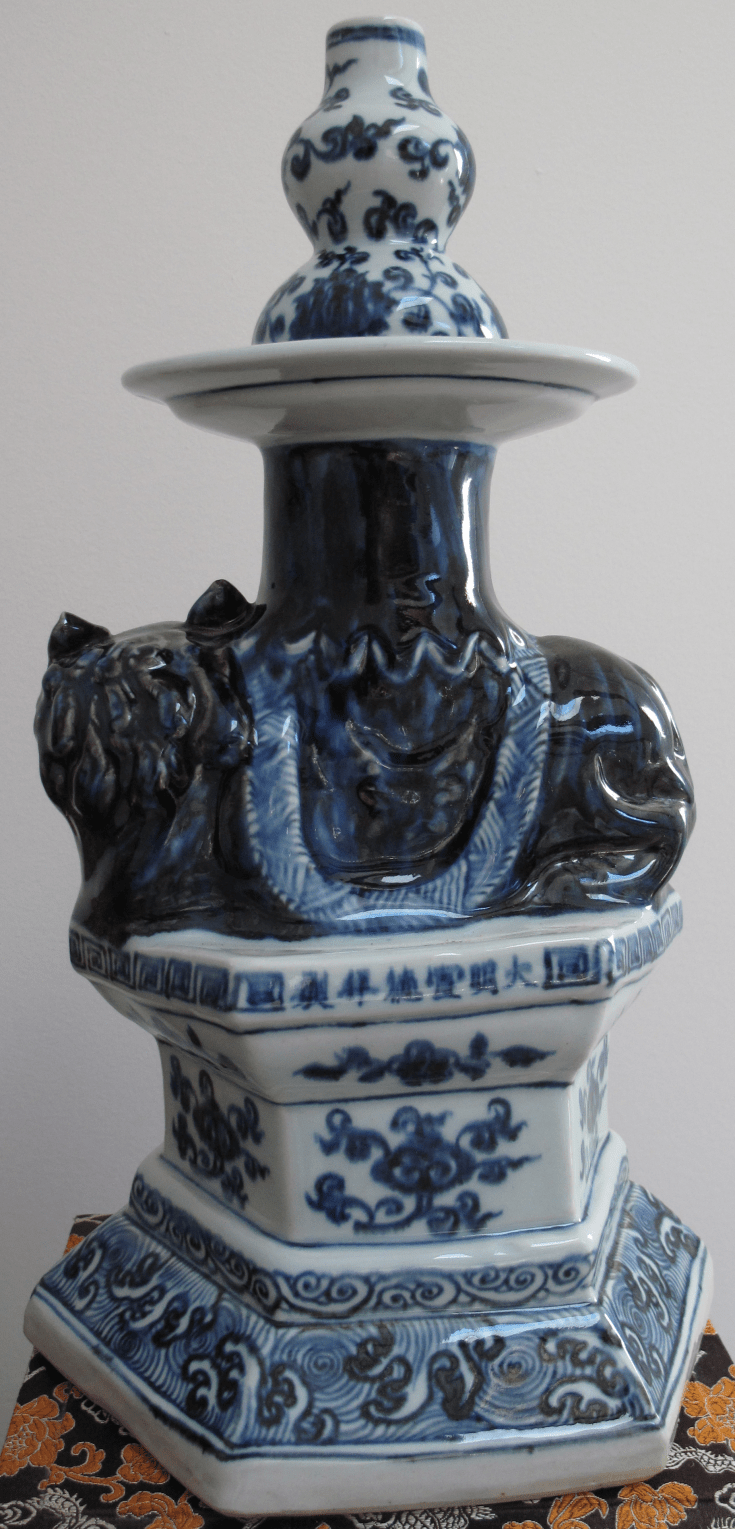 Figure 1
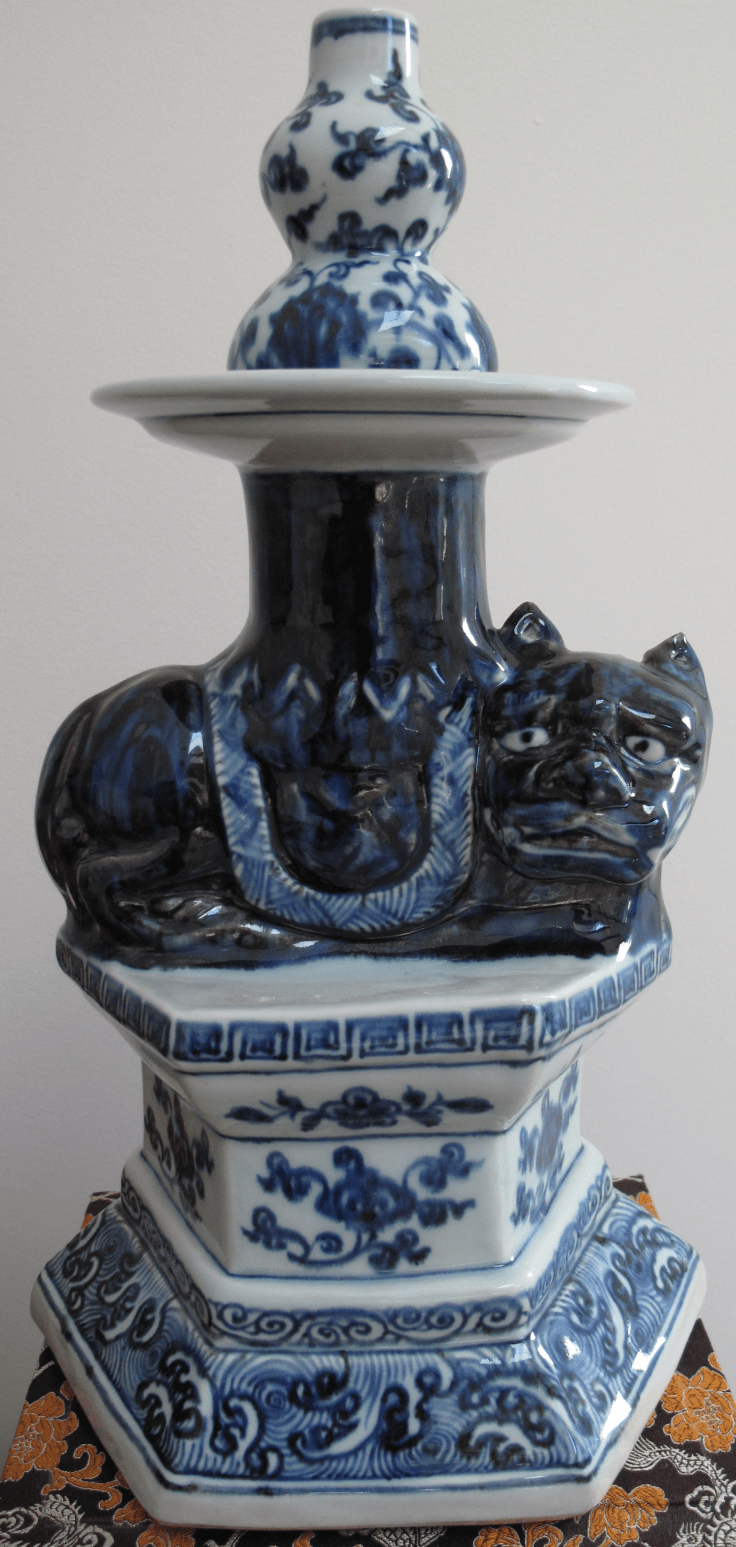 Figure 2
With something that rare, the first thought that we should have in our mind would be: is this a fake? Now that we are quite familiar with the Sumali Blue dye, we will look at it and see of the dye is consistent with the Sumali Blue dye. Here in the lion, the whole animal is painted blue, so we have plenty of opportunity to look at the specific features of the Sumali Blue dye. We have also the opportunity to look at how the dye will behave in some very exaggerated contours, such as bulging and crevices. I will first show you some photos of the head and the behind where contours are much more magnified.
 Figure 3
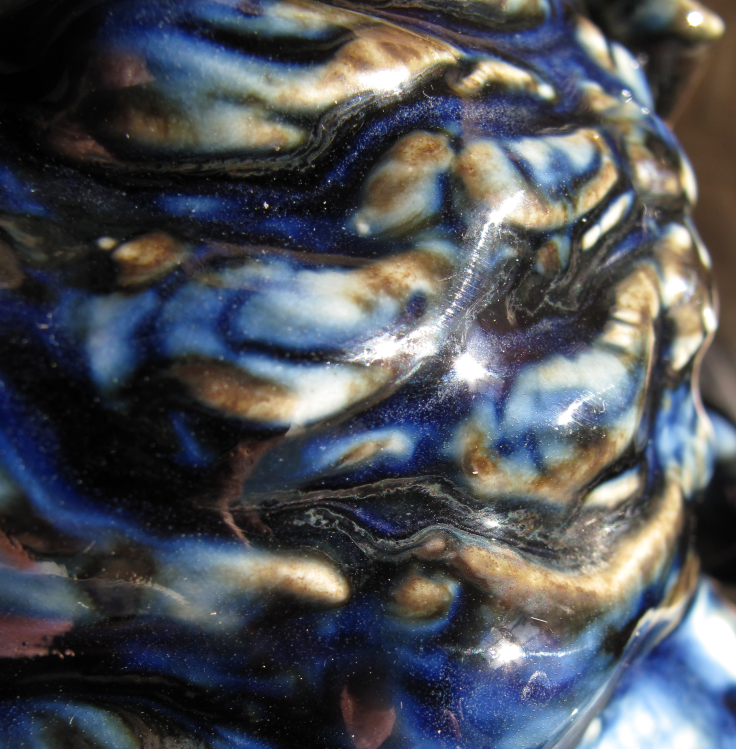 Figure 4
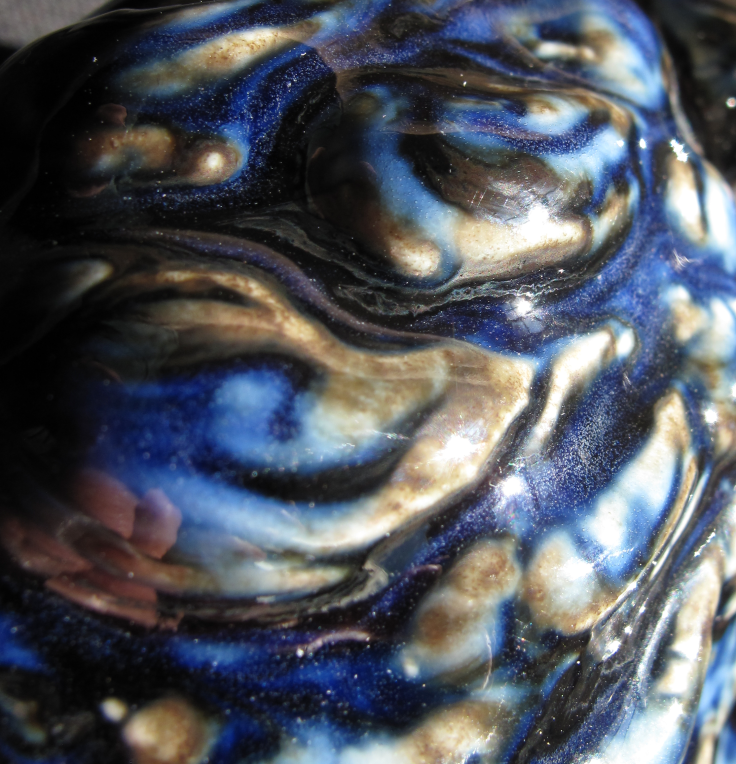 Figure 5
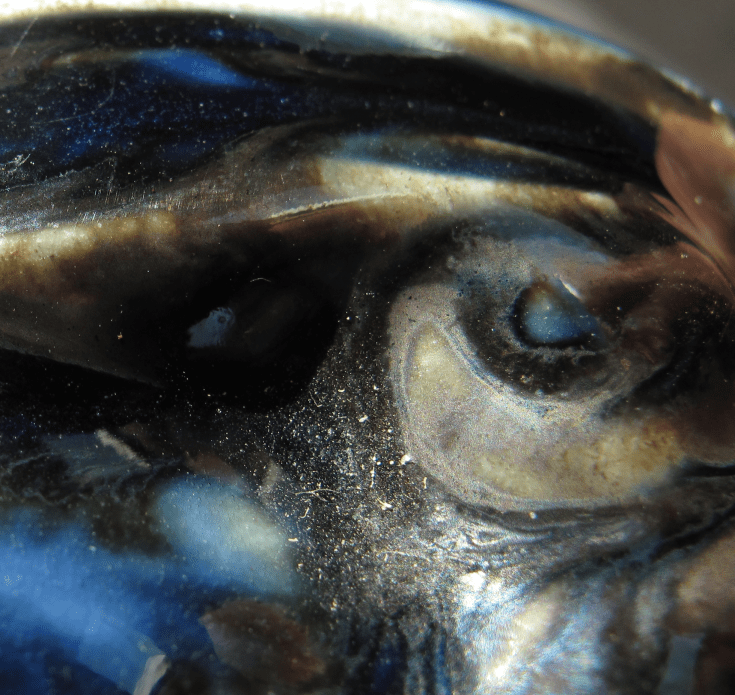 Figure 6
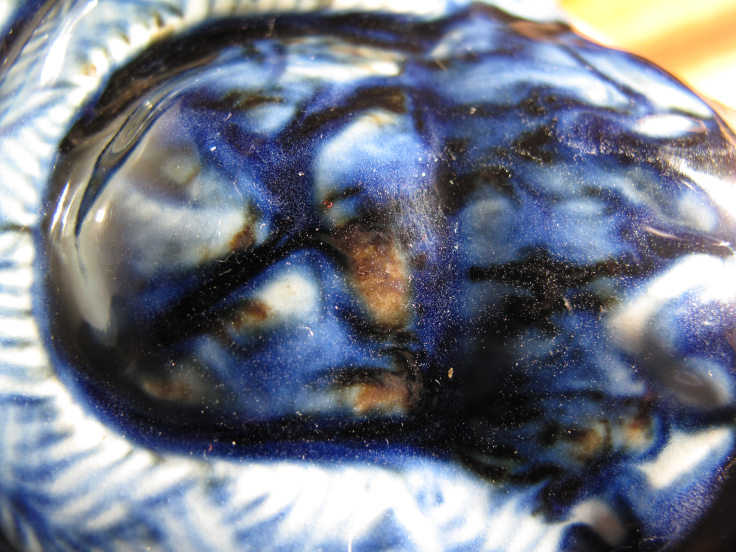 Figure 7
In these photos (Figures 3-7) I am trying to focus of the sharp contour. You will notice that the components of the dye are more clearly defined. Each component falls down the slope at a different speed according to their density, and that would include the different components of the muddy layer. The bubbles-generating blue pigment apparently falls down the slope more quickly and is collected at the base of the slope, at where I call the crevices are. The brownish component, probably the main component of the mud, is lighter in density than the rest, and most of the time, stays at the top of the ridge and slides down slowly. The more reflective part of the mud comes in between in density, and you can clearly see it in Figure 6. Try to enlarge the photos, and you will get an idea how the bubbles are distributed.
Now, let me show you some enlarged photos of these areas.
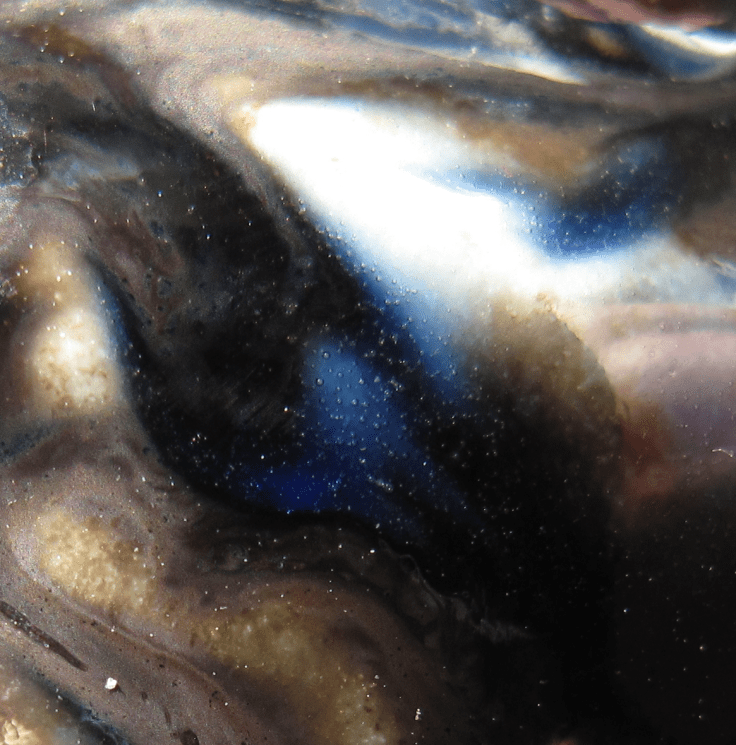 Figure 8
 Figure 9
 Figure 10
 Figure 11
 Figure 12
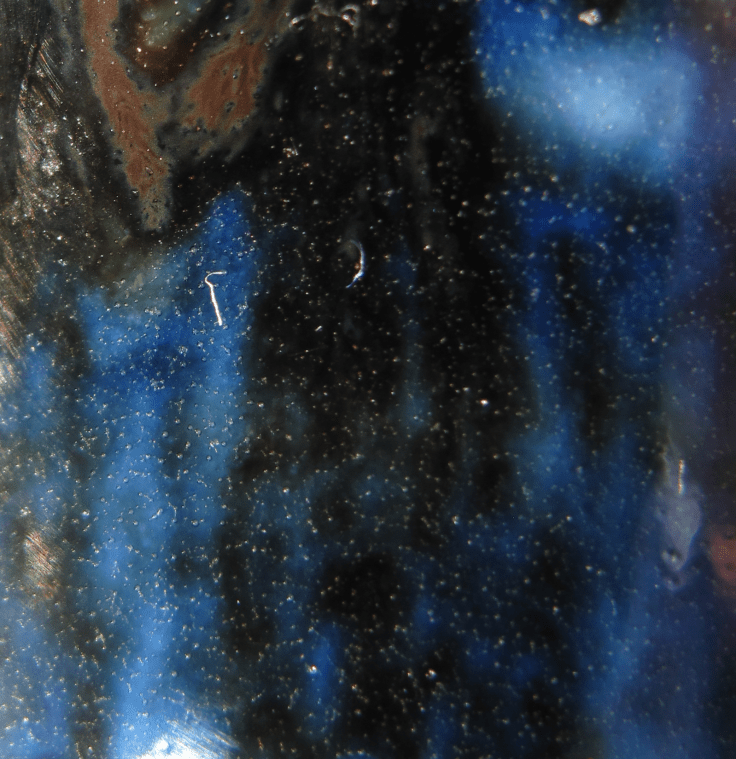 Figure 13
 Figure 14
In these photos (Figure 8-14), and you will have to look at them very carefully, you can visualize the components of the muddy layer because of the separation of the components by just gravity alone. Look at figure 11 on the left, do you see the brownish component stays at the top of the ridge? This is also very well shown in Figure 12, where the contour of the slope is not as sharp. In Figure 14, you can see the blue dye collected at the bottom of the slope at where the crevice is, and bubbles are building up in large amounts. In Figure 13, look at the bubble distribution at a large and yet more gentle slope. Look at the large and small bubbles are linked up, as if by a string, in many instances. This is also seen in figure 10.
I’ll now show you another two photos showing the bubbles on the slope and down at the crevices (Figures 15-16).
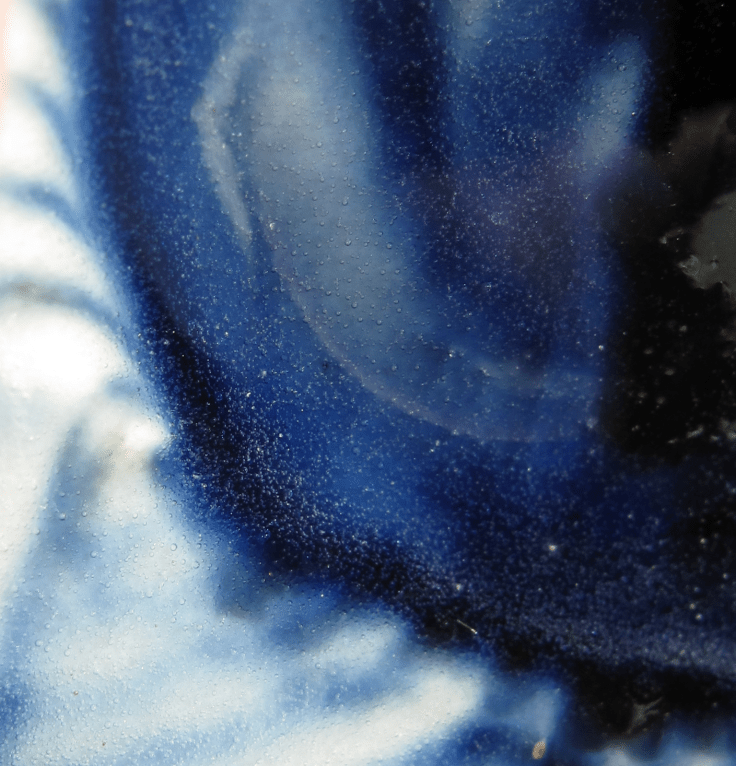 Figure 15
 Figurer 16
Aside from the lion, the rest of the candlestick holder is very much like a regular Xuande B & W. The plaques, the flare and dripping and the bubbles are all typical or variants of the typical. I’ll show you some photos of these features.
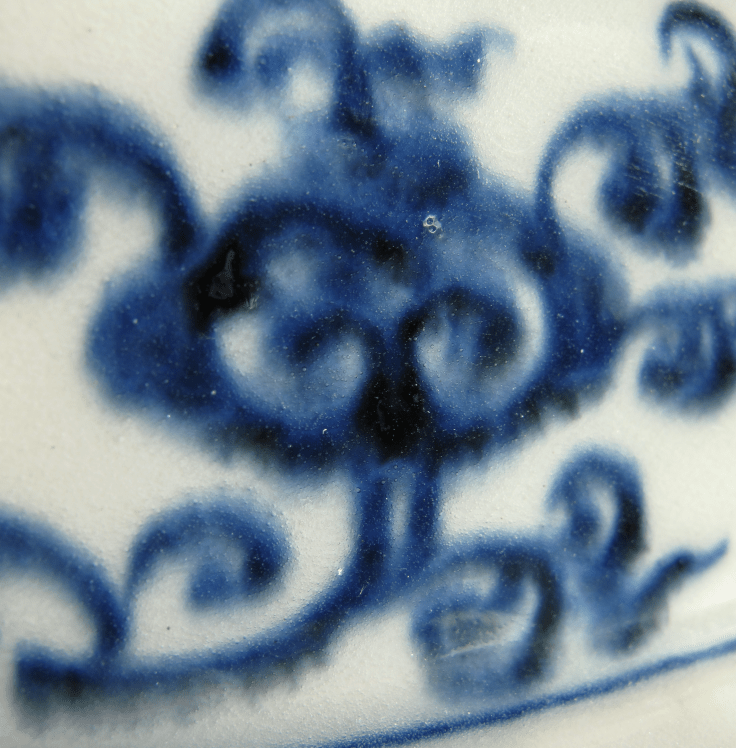 Figure 17
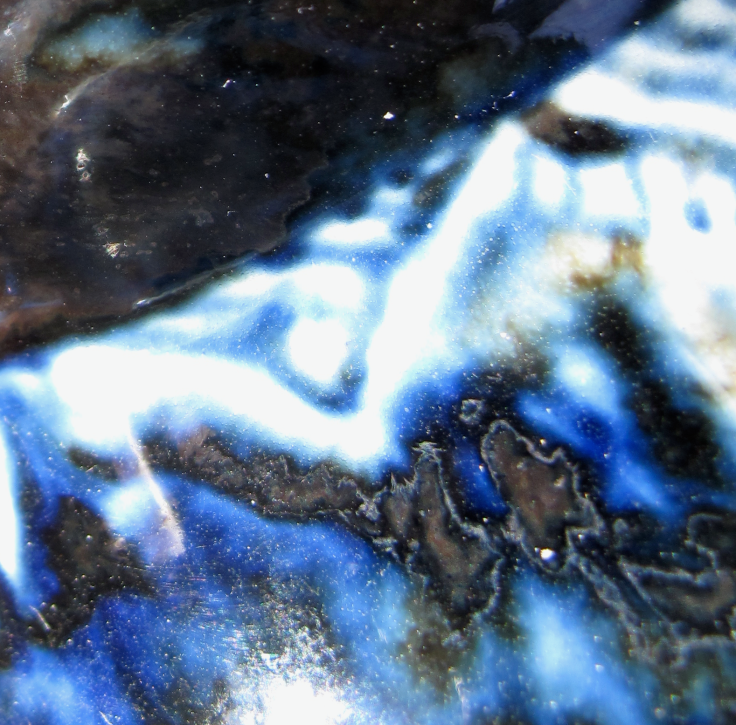 Figure 18
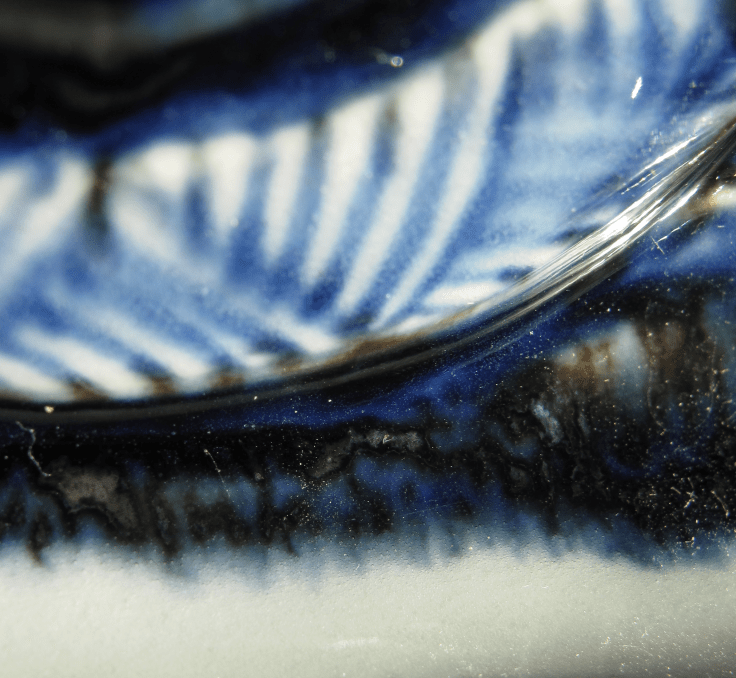 Figure 19
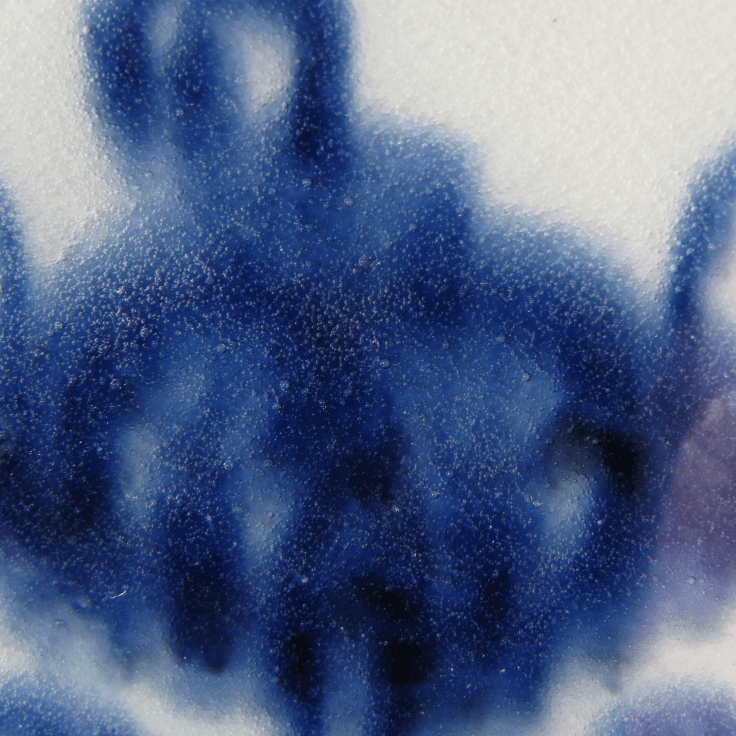 Figure 20
 Figure 21
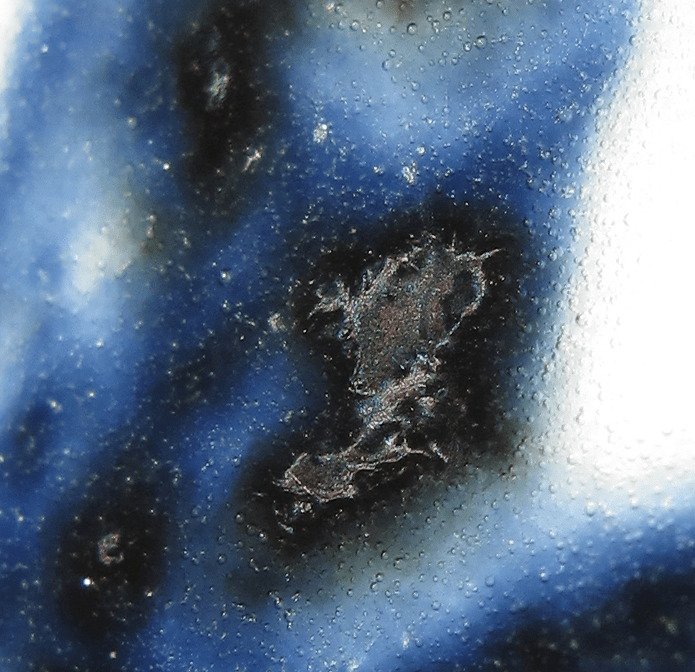 Figure 22
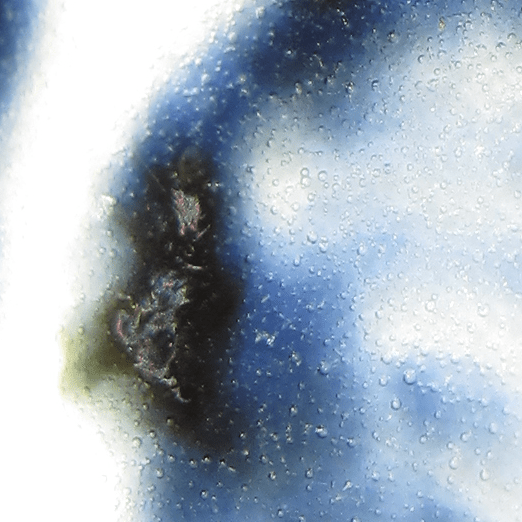
Figure 23
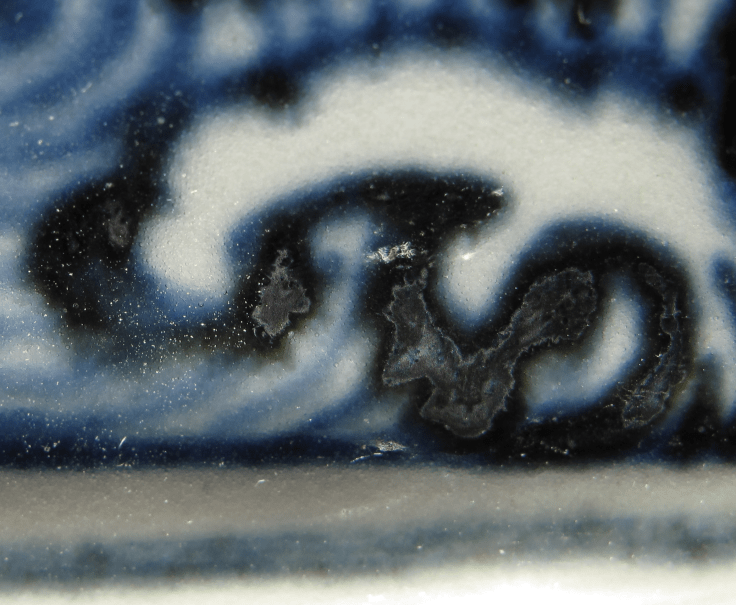 Figure 24
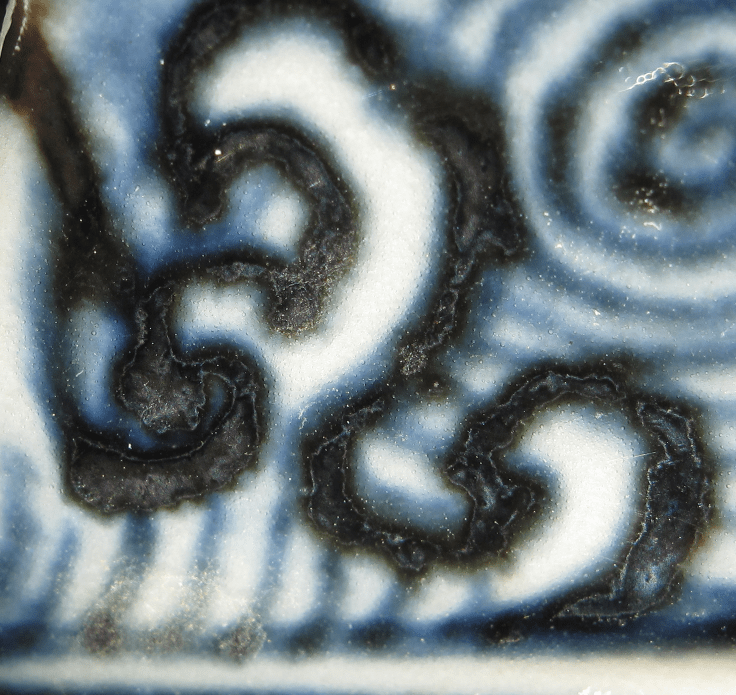 Figure 25
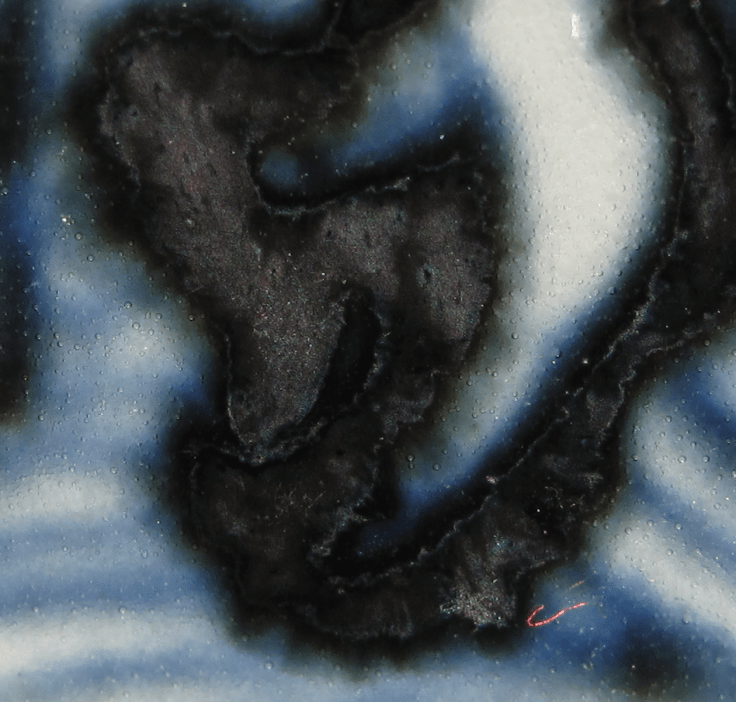 Figure 26
Look at these photos carefully (Figures 17-26). The appearance of the bubbles, plaques and flares and drippings matches in one way or the other features of other early Ming wares that I have shown you before, and you should have no doubt that the dye of this candlestick holder is of the Sumali Blue dye, and that the ware belongs to the Xuande period.
Before finishing off, I’ll show you the mark of this candlestick holder and a photo showing large bubbles intermingle with the small ones (Figures 27-28), and do pay attention to the lacunae and the pearly white large bubbles, which are very typical of the Sumali Blue dye.
 Figure 27
 Figure 28

Leave a comment